Food tax
The region looks promising, but daily food routes already feel annoying
If food is awkward, the location is usually weaker than the view suggests. Base value starts with survival and easy repeat days.
Base planning guide
This page is for choosing a base that can carry several settlement stages, not for the first safe camp. Compare room to expand, daily routes and village access here; use the first-base guide when the opening location is the only decision.
Use this when
Use this page when choosing a region by resource access, travel time, storage shape, worker movement and how easily the settlement can scale over several stages.
Return path
This page is strongest when the question is still where to settle or whether to move. If the answer has shifted into route planning, freshness checks or village repair, use the guide that matches the real blocker.
Location pressure lanes
Food tax
If food is awkward, the location is usually weaker than the view suggests. Base value starts with survival and easy repeat days.
Build tax
This usually means the base is too far from core construction loops or too spread out to use them well.
Village tax
That is often the sign that the settlement location is punishing the whole village system, not just one route.
Remote bait
That is often a strong outpost signal, not a main-base signal. The cleaner answer may be support, not relocation.
Base payoff lanes
First hour
Early players need a base that supports repeatable meals, nearby wood, easy stone and enough room for starter storage.
Daily work
If food, crafting and storage sit too far apart, even a good region can feel slow because the base shape wastes movement.
Mid-game
Leave clear space for storage, crafting, food support and worker paths before the settlement becomes crowded.
Remote value
Ore, clay or hunting pressure often belongs in an outpost plan unless the main region also improves food and daily work.
Ask these first
Food is nearby, trees and stone are easy to reach, the return path is short, and you can expand storage without rebuilding everything later.
If one walk can solve food plus materials, that location is usually strong.
Warning signs
The view is nice but food is weak, workers will walk too far, or the area only makes sense because one ore route is nearby.
Those places are often better as outposts than as your main settlement.
Ore-first relocation that weakened everything else
The new location looked smarter because later resources were closer, but food, worker travel and trust errands all became slower at the same time.
That is the classic sign that the base was chosen for future value instead of daily value.
Strong remote zone that still works better as an outpost
Players often find a place with one excellent route and assume everything should move there. In practice the region usually works better as a satellite support point.
If the answer to every complaint is "but the ore is close," it probably should have been an outpost all along.
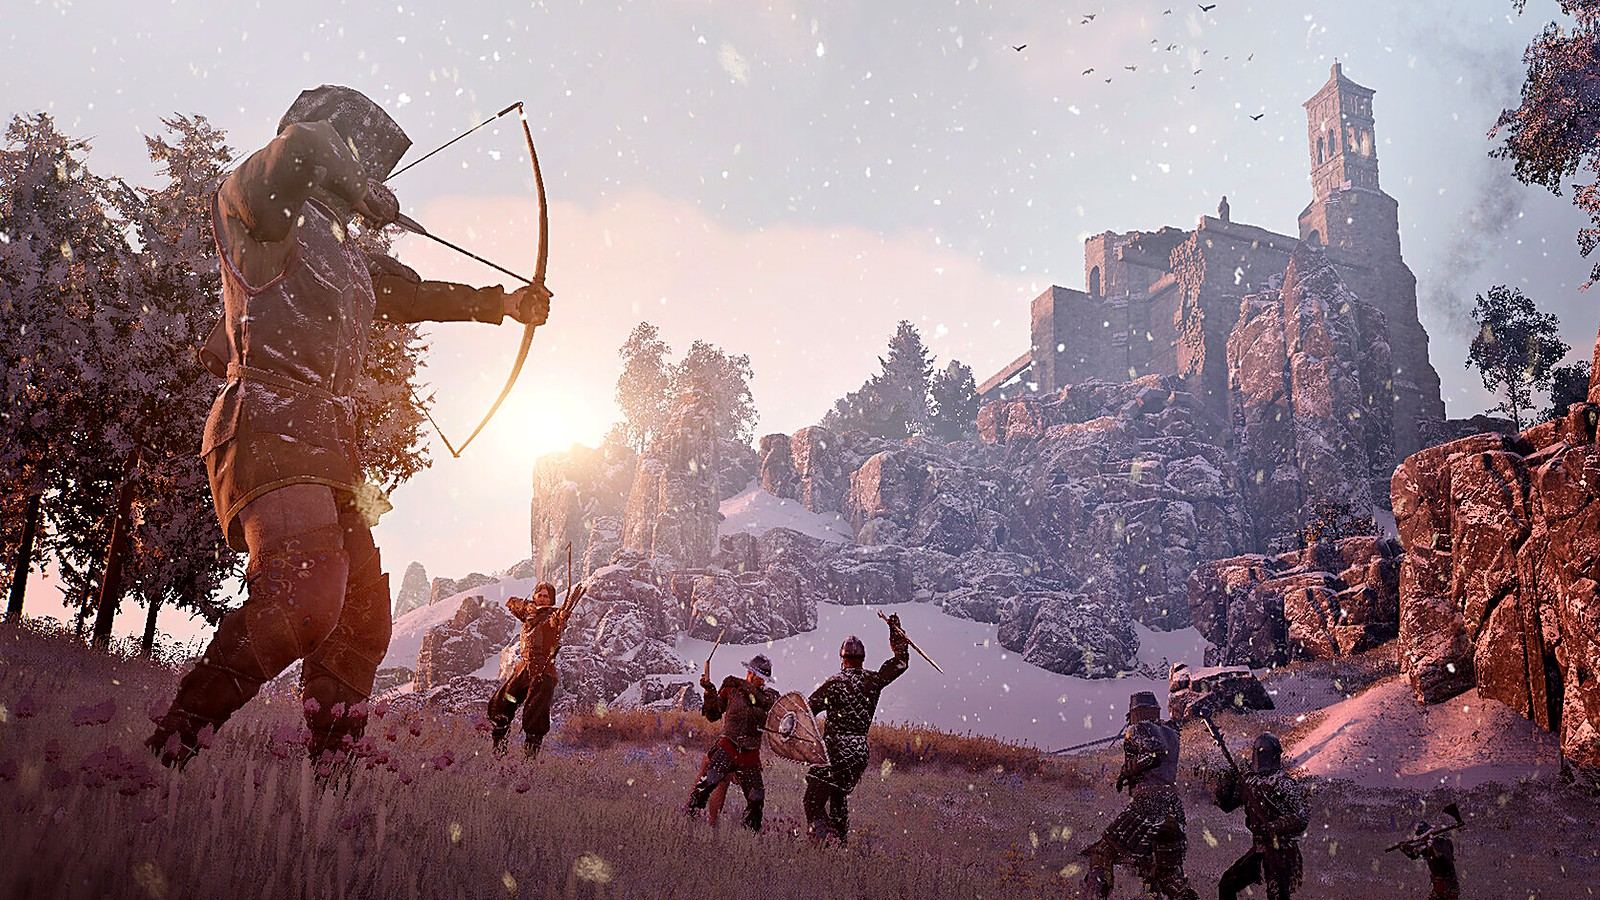 Open the follow-up that fits the current route failure, missing input or timing mistake.
 Use resource pages when a promising base still depends on nearby wood, stone, food, ore, or clay access.
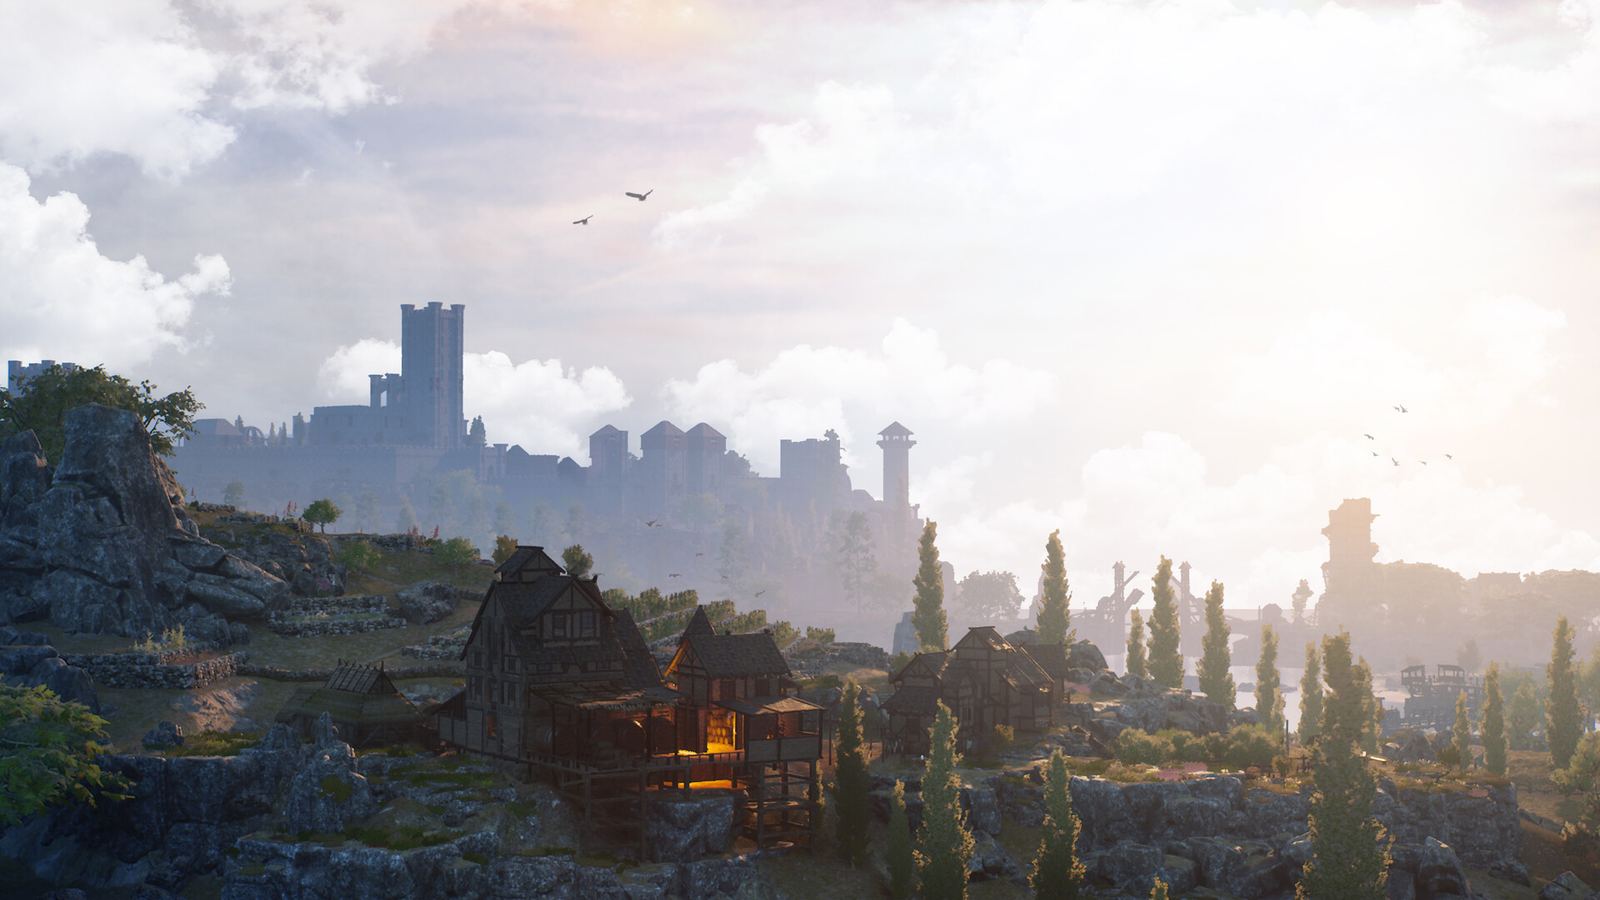 After checking base spots, move to the page that fixes the real risk in your save: food access, route length, storage flow or outpost pressure.
Use the base visuals to judge practical space, nearby supply routes and whether the region reduces daily walking instead of just looking scenic.
A good base shortens daily food, wood, stone, storage and worker paths. A pretty region that stretches every routine is still a weak base.
Usually not for the first main base. Ore matters later, but early stability is built on food, construction materials, worker convenience and clean return flow.
If one remote route is the only reason the region looks good, keep the main base stable and compare that region as an outpost candidate instead.
Use these principles before committing to a long-term settlement location. If a patch changes route value or settlement pressure, send a correction through Contact.